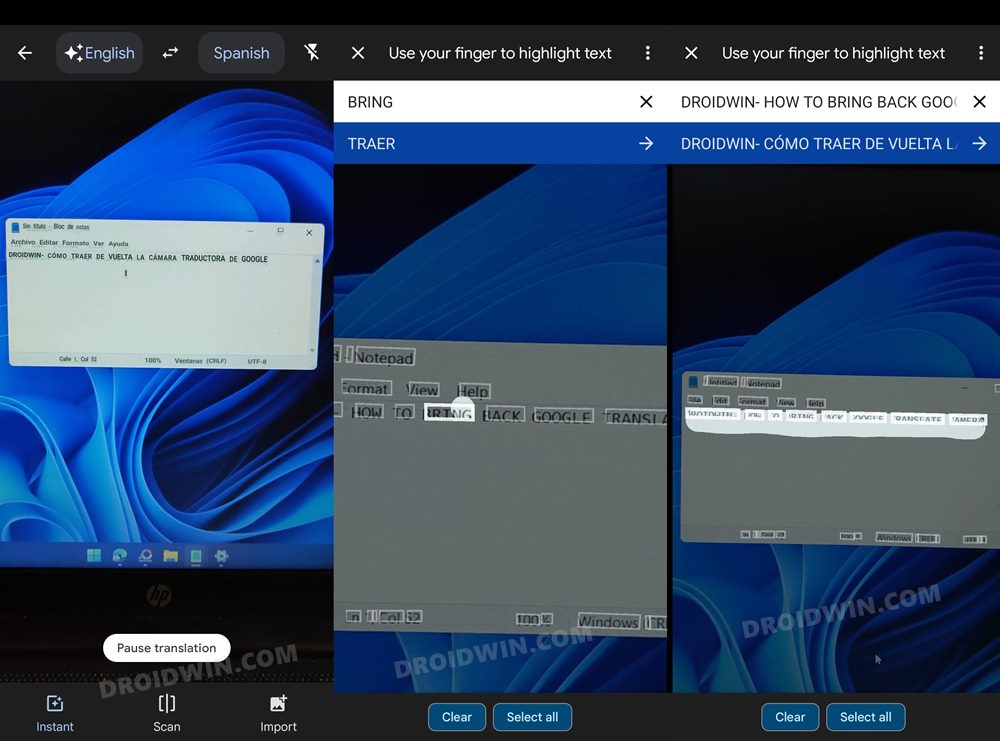
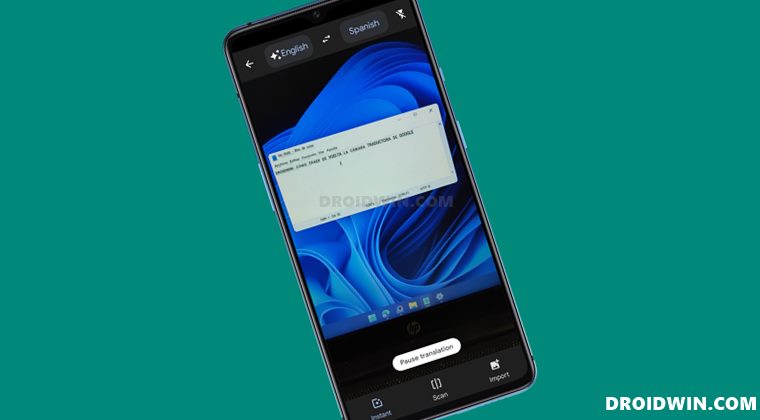
At the time of writing, something similar is brewing up with the Translate app. Without exaggerating any facts, it is no hidden secret that this translate app from Google is the best in this domain. In this regard, the in-built Camera proves to be one of its most handy features, with Instant and Scan proving to be the icing on the cake. In the Instant feature, you just need to point your camera at the text and it will automatically translate all the text on the screen. On the other hand, the Scan feature gives you more granular control over the translation with nice gesture support as well.
However, so many good things in one single app were probably too hard for Google to digest. Hence they decided to remove all these features and replace it with its Lens app- an integration/replacement that literally no one asked for. However, there’s still a silver lining among these dark clouds there is a method to remove Google Lens and bring back the default camera in the Google Translate app. And this guide shall help you do just that. So without further ado, let’s get started.
Google Translate: Remove Lens and Bring Back the Default Camera
To resolve this issue, you will have to opt for the three-step downgrade process. First off you will have to uninstall the Translate app from your device. Then, download and install an older build of this app and finally, disable automatic updates of this app. All this has been explained in depth below, follow along.
STEP 1: Uninstall Google Translate
Google Translate is not a system app and hence you should have no issues in uninstalling it. However, if your OEM has installed it as a system app, then you will have to take the help of ADB Command in order to uninstall it. For that, you may refer to our guide on How to Remove/Uninstall Bloatware and System Apps from Android via ADB.
STEP 2: Install an Older Version of Google Translate
You will now have to sideload an older version of this app. Since Play Store only holds the latest version of any app, you will have to search for its older version from a third-party site, such as APKMirror [direct link]. So download it from the site of your choice and subsequently install it onto your device.
STEP 3: Disable Automatic Updates
The third and final step is to disable auto-updates for the Translate app. If you don’t do so, then Play Store will update the app to the latest build, thereby nullifying the entire fix. So refer to the below instructions to implement this step: That’s it. These were the steps to remove Google Lens and bring back the default camera in the Google Translate app. As you might have noticed, there’s just one drawback with this workaround, the app wouldn’t be getting blessed with the latest updates. For me, this isn’t a major cause of concern as I keep the auto-update feature disabled for all my apps and only enable it for an individual app after going through the user feedback based on at least a week’s usage. However, there might not be many in sync with this thought process, and for them, there doesn’t seem to be any other way out since this change has now become permanent. On that rather pessimistic note, we end this tutorial. If you have any queries or wish to share your viewpoint on this rather uninvited change, then the comment section is all yours.
Chrome: Disable Search Image with Google Lens | Bring Back Search Google For ImagesDisable Tab Groups in Chrome Android- Bring back old Chrome Tab LayoutChromeLoader and Krestinaful Malware in Chrome: How to Delete themHow to Bring Back the Open in New Tab option in Chrome Android
About Chief Editor


